Jan 6, 2026
How To Automate Wedding Invitation Cards
This guide shows you how to create beautiful, customizable invites with ease, giving you more time to enjoy the big day.

Sharleena AM
Technical Writer

This guide shows you how to create beautiful, customizable invites with ease, giving you more time to enjoy the big day.
Organizing a wedding involves managing a multitude of details, from booking the venue to coordinating with vendors. While logistics often take precedence, invitations are a crucial element that sets the tone for the entire event, providing guests with their first impression of the wedding’s theme, style, and overall ambiance.
Crafting beautiful invitations can add a personal touch to your wedding, but it doesn't have to be a labor-intensive task. By leveraging templates and automation, you can efficiently design a cohesive set of invitations for your entire guest list, maintaining consistency while freeing up valuable time for other preparations.
With tools like Stencil, creating and distributing wedding invitations becomes a streamlined process. In this guide, we’ll explore three different methods for generating personalized invites with minimal effort—from using a free design tool to implementing a fully automated workflow.
Planning a wedding can be an exciting yet overwhelming experience, especially when it comes to sending out invitations. Instead of manually designing and personalizing each invite, you can automate the process using templates and tools. This guide will show you how to generate personalized wedding invitations for your entire guest list.
Begin by selecting your wedding invitation design. You can:
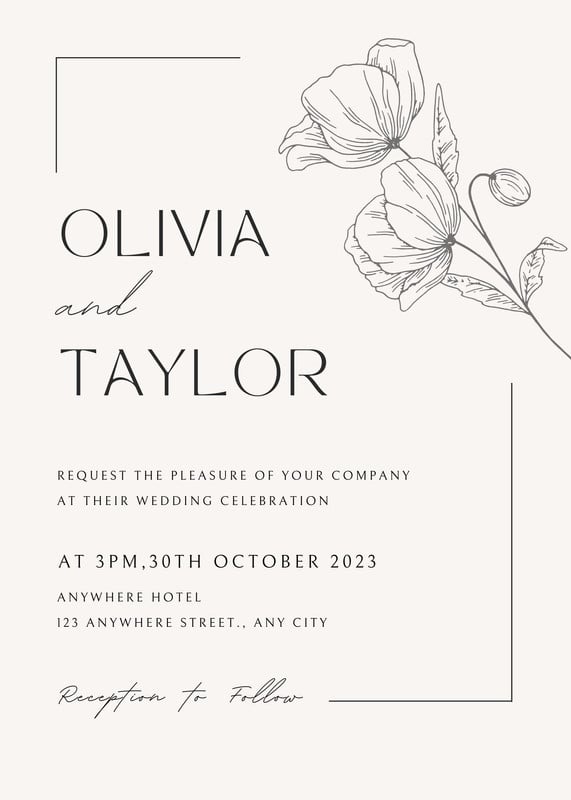
The primary goal of a wedding invitation is to help you manage the event's capacity effectively. To do this, consider including these key elements:
To efficiently manage your guest list, it should be stored in a structured format that simplifies the planning process. Incorporating automation into your wedding invitation process can significantly enhance efficiency.
For example, the QR code on your invitation can direct guests to an RSVP form that automatically updates your guest list. There are several free services to facilitate this, such as Google Forms integrated with Google Sheets or Airtable paired with Airtable Forms.
Consider including these columns in your guest list:
Example:
| Name | Meal Preference | Plus-One |
|---|---|---|
| John | Vegetarian | Yes |
| Jane | Regular | No |
When it comes to automation, several tools can simplify the wedding invitation process:
Let’s quickly build our wedding invitation automation system, a process that should take less than 15 minutes!
First, create your guest list table with Airtable, which will also host your RSVP form.
Structure your table with these columns:
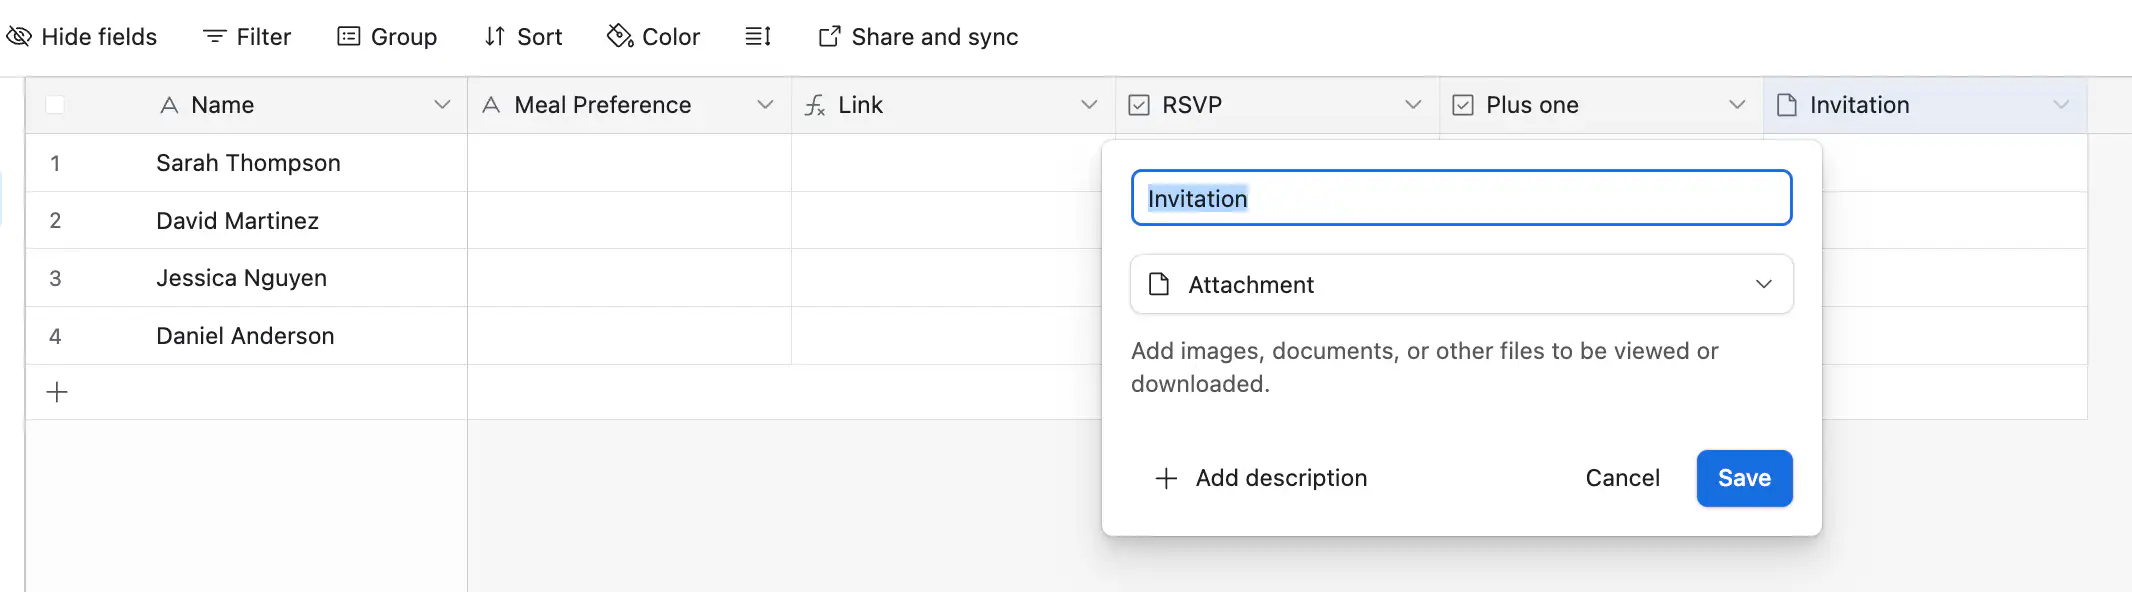
The
Invitationcolumn is crucial and should be of theAttachmenttype to store generated invitation cards.The
Linkcolumn, set to formula type, supports dynamic RSVP link generation, but we need to create the form first.
Create your form and retrieve the link to populate the RSVP link formula for the Link column.
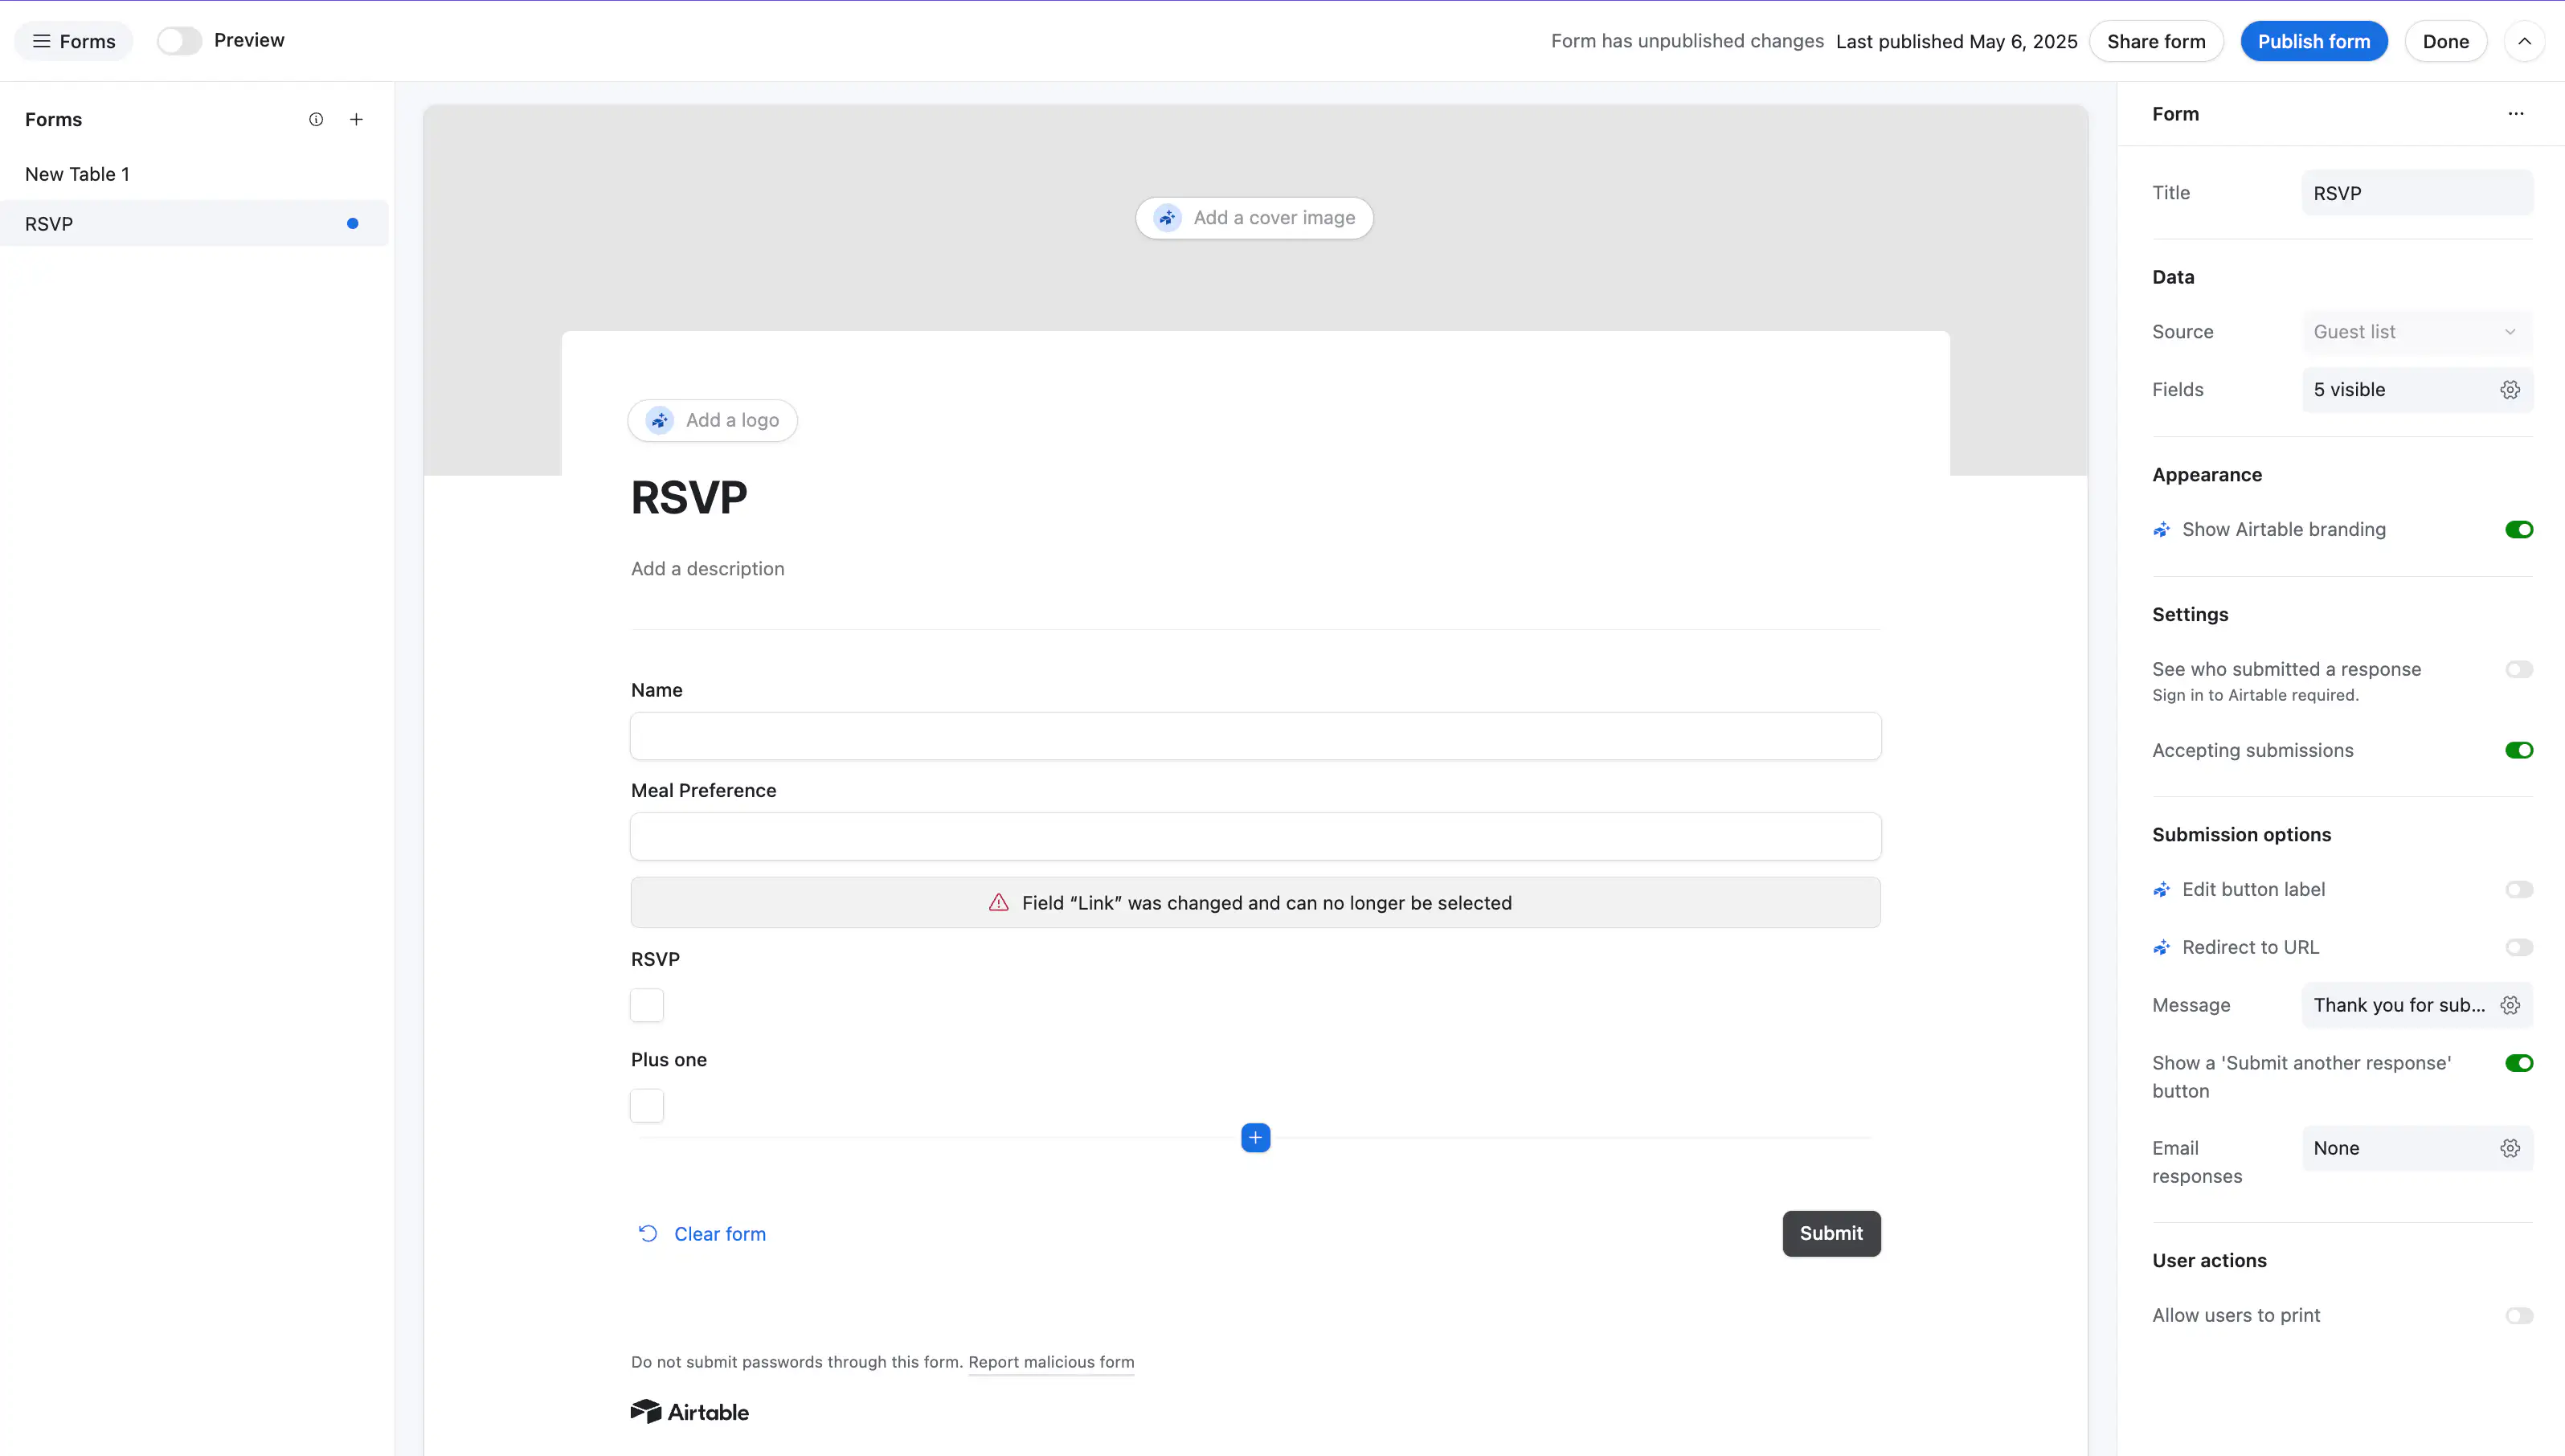
Update your formula using your form link:
"https://airtable.com/appnDvuBP7m5AJzRH/pagJvnOB4Z7cqVln6/form?prefill_Name=" & ENCODE_URL_COMPONENT(Name)
This formula creates a prefilled RSVP link for each guest's name from the Name column. The QR code on the wedding invite will link to this form.
Next, we'll create a template with Stencil, which will be used to automate the invitation generation.
You can design a template using Stencil or import an image from tools like Canva if preferred.
Register for a free Stencil account if you haven't done so, then create a new project and template.
Here’s a design example that includes all necessary elements for a wedding invitation card:
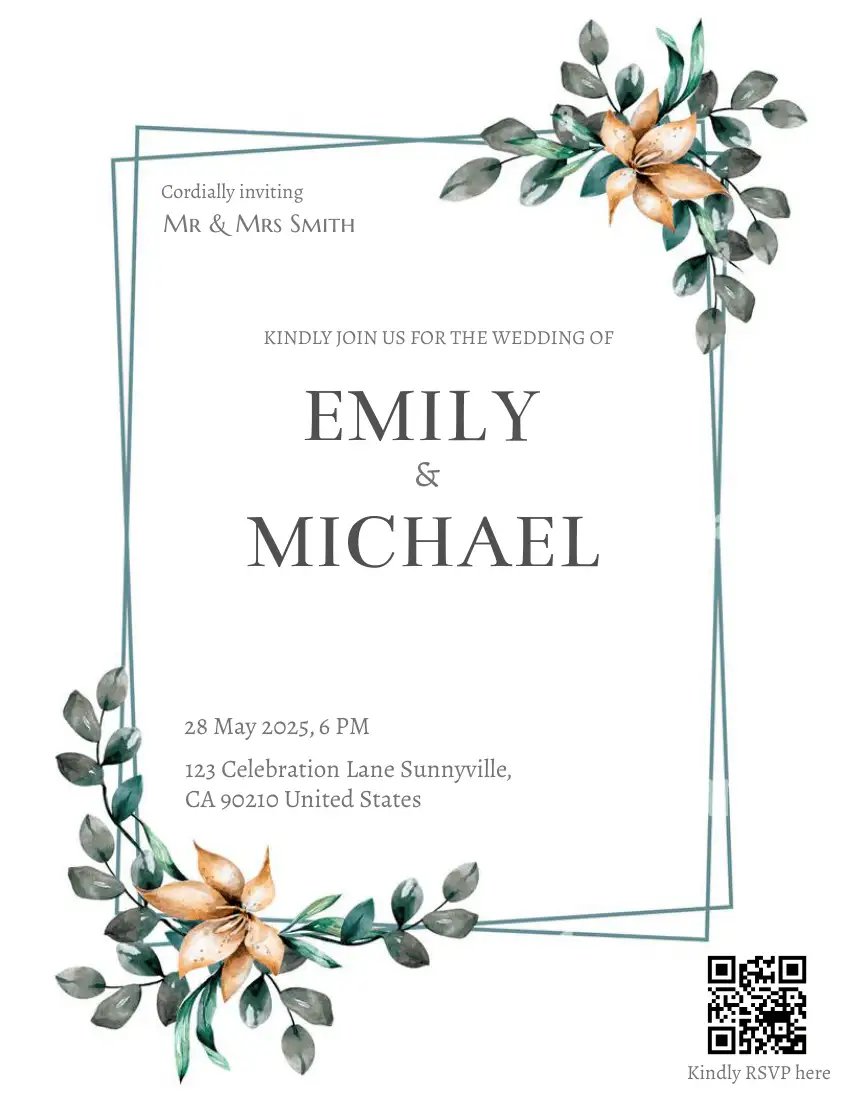
With this template, we can generate the invitation card by updating its layers with information stored in Airtable.
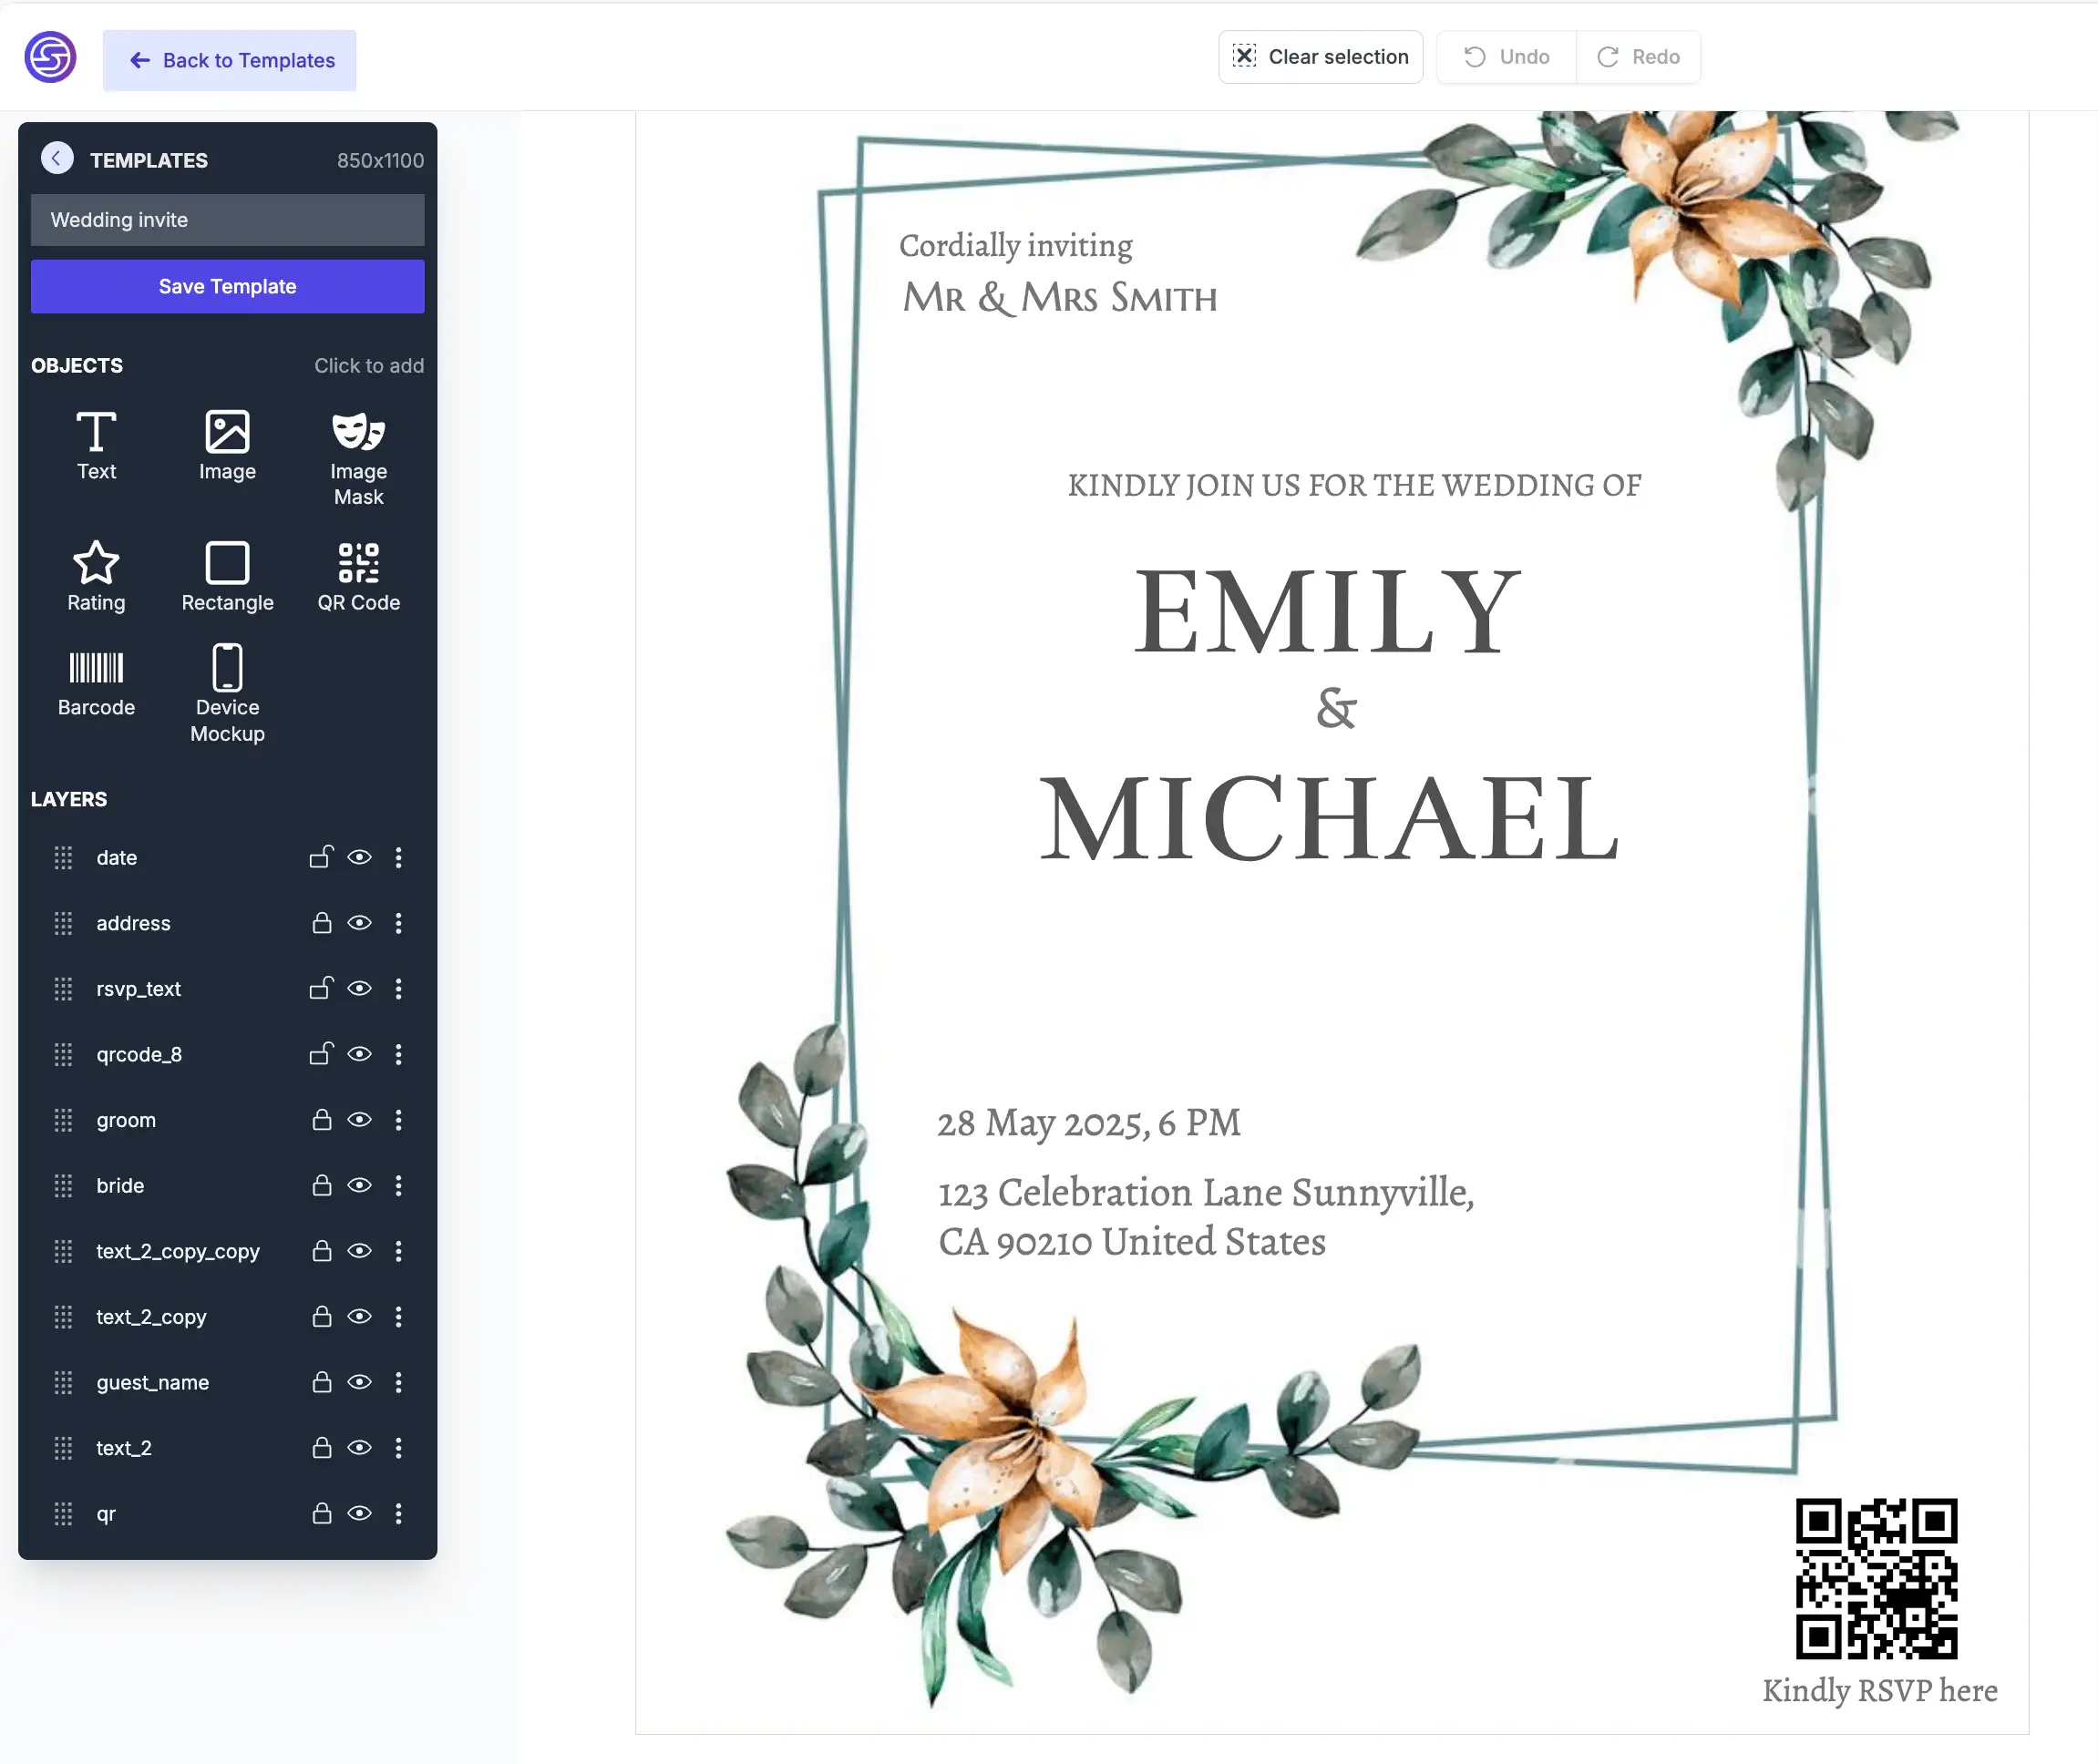
For instance, the guest_name layer will be populated from the Name column in Airtable, while the qr layer will feature a customized RSVP link.
Stencil offers various methods for dynamically generating image variations from templates through its API, form widget, and more.
The integration with Make, Zapier, and Airtable will be utilized in this tutorial.
With your guest list prepared, it's time to generate invitations. Set up Airtable integration in Stencil.
You'll need the following from Airtable:
Configure your Airtable integration in Stencil.
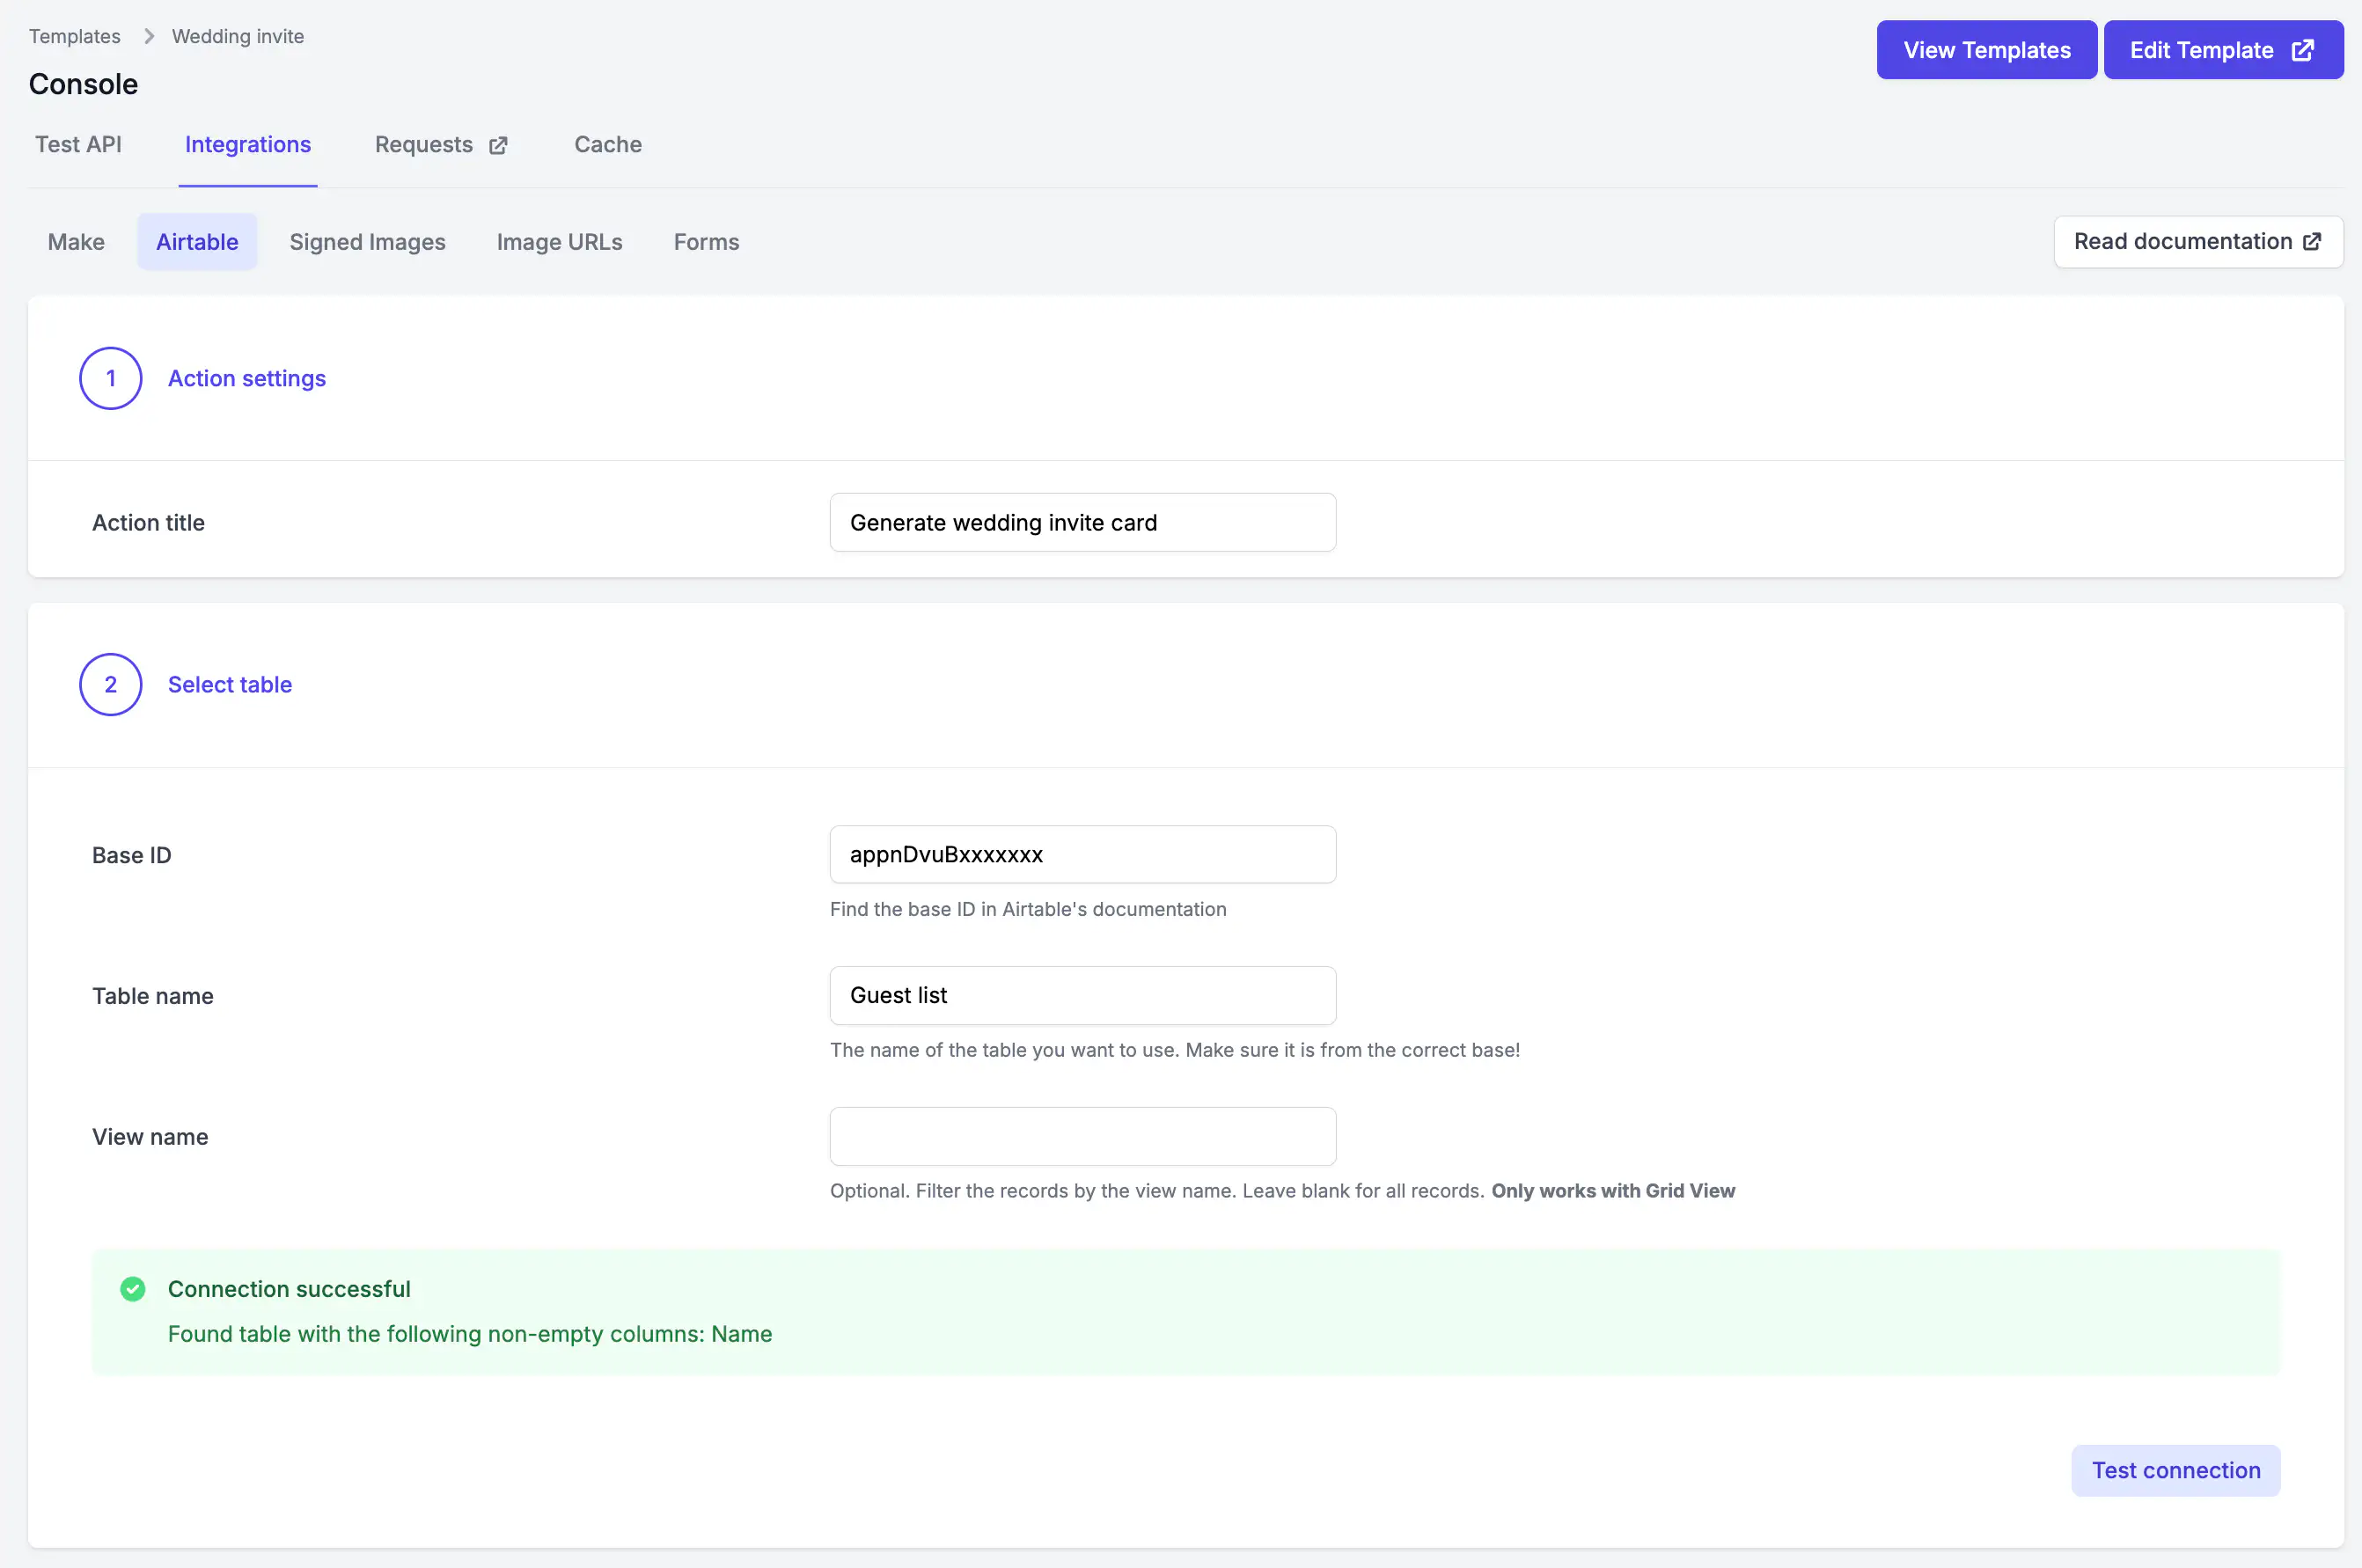
Ensure your connection is tested and working correctly!
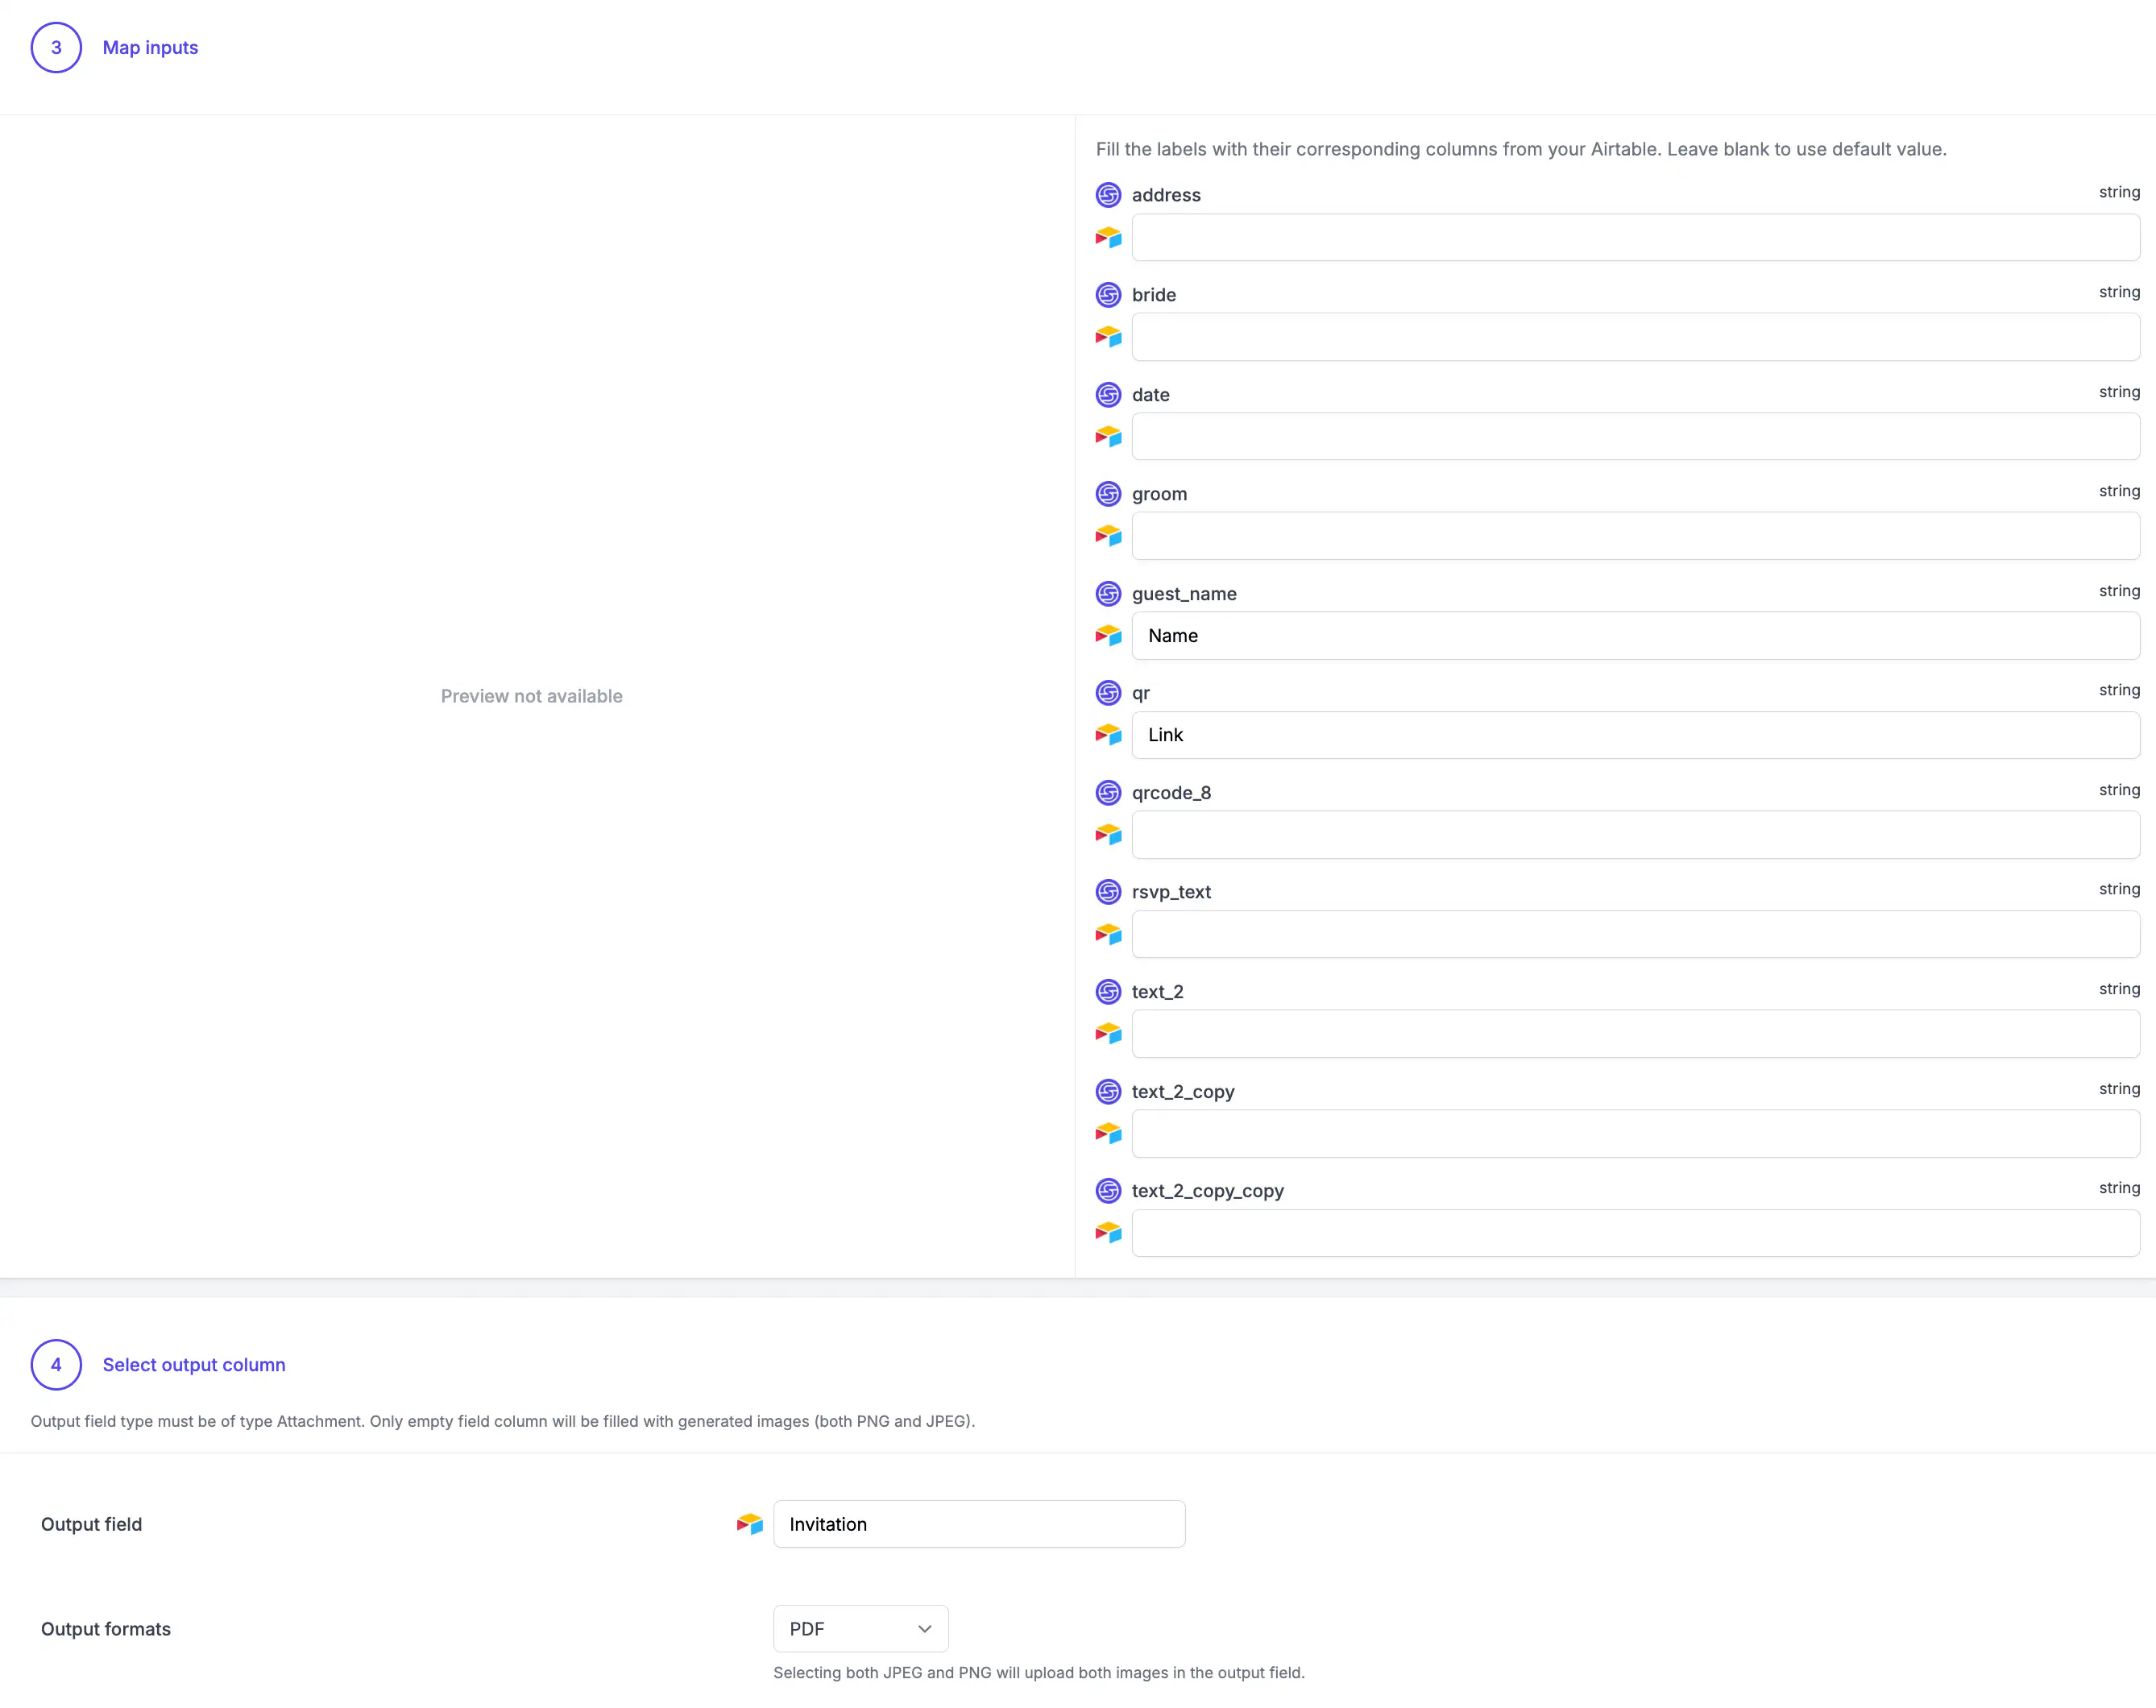
Map your template layers to Airtable columns: link the guest_name layer to the Name column and the qr layer to the Link column.
Leave others blank unless needed; our focus is on these fields.
Set the Invitation column for outputs (of the Attachment type). Choose PDF for print outputs or PNG/JPEG for images.
Save your integration and proceed to generate the invitations!

Execute the action to begin generating, with results automatically uploaded as attachments to Airtable. You can continue your tasks as processing will proceed server-side.
Returning to your Airtable table, you should see invitations attached.
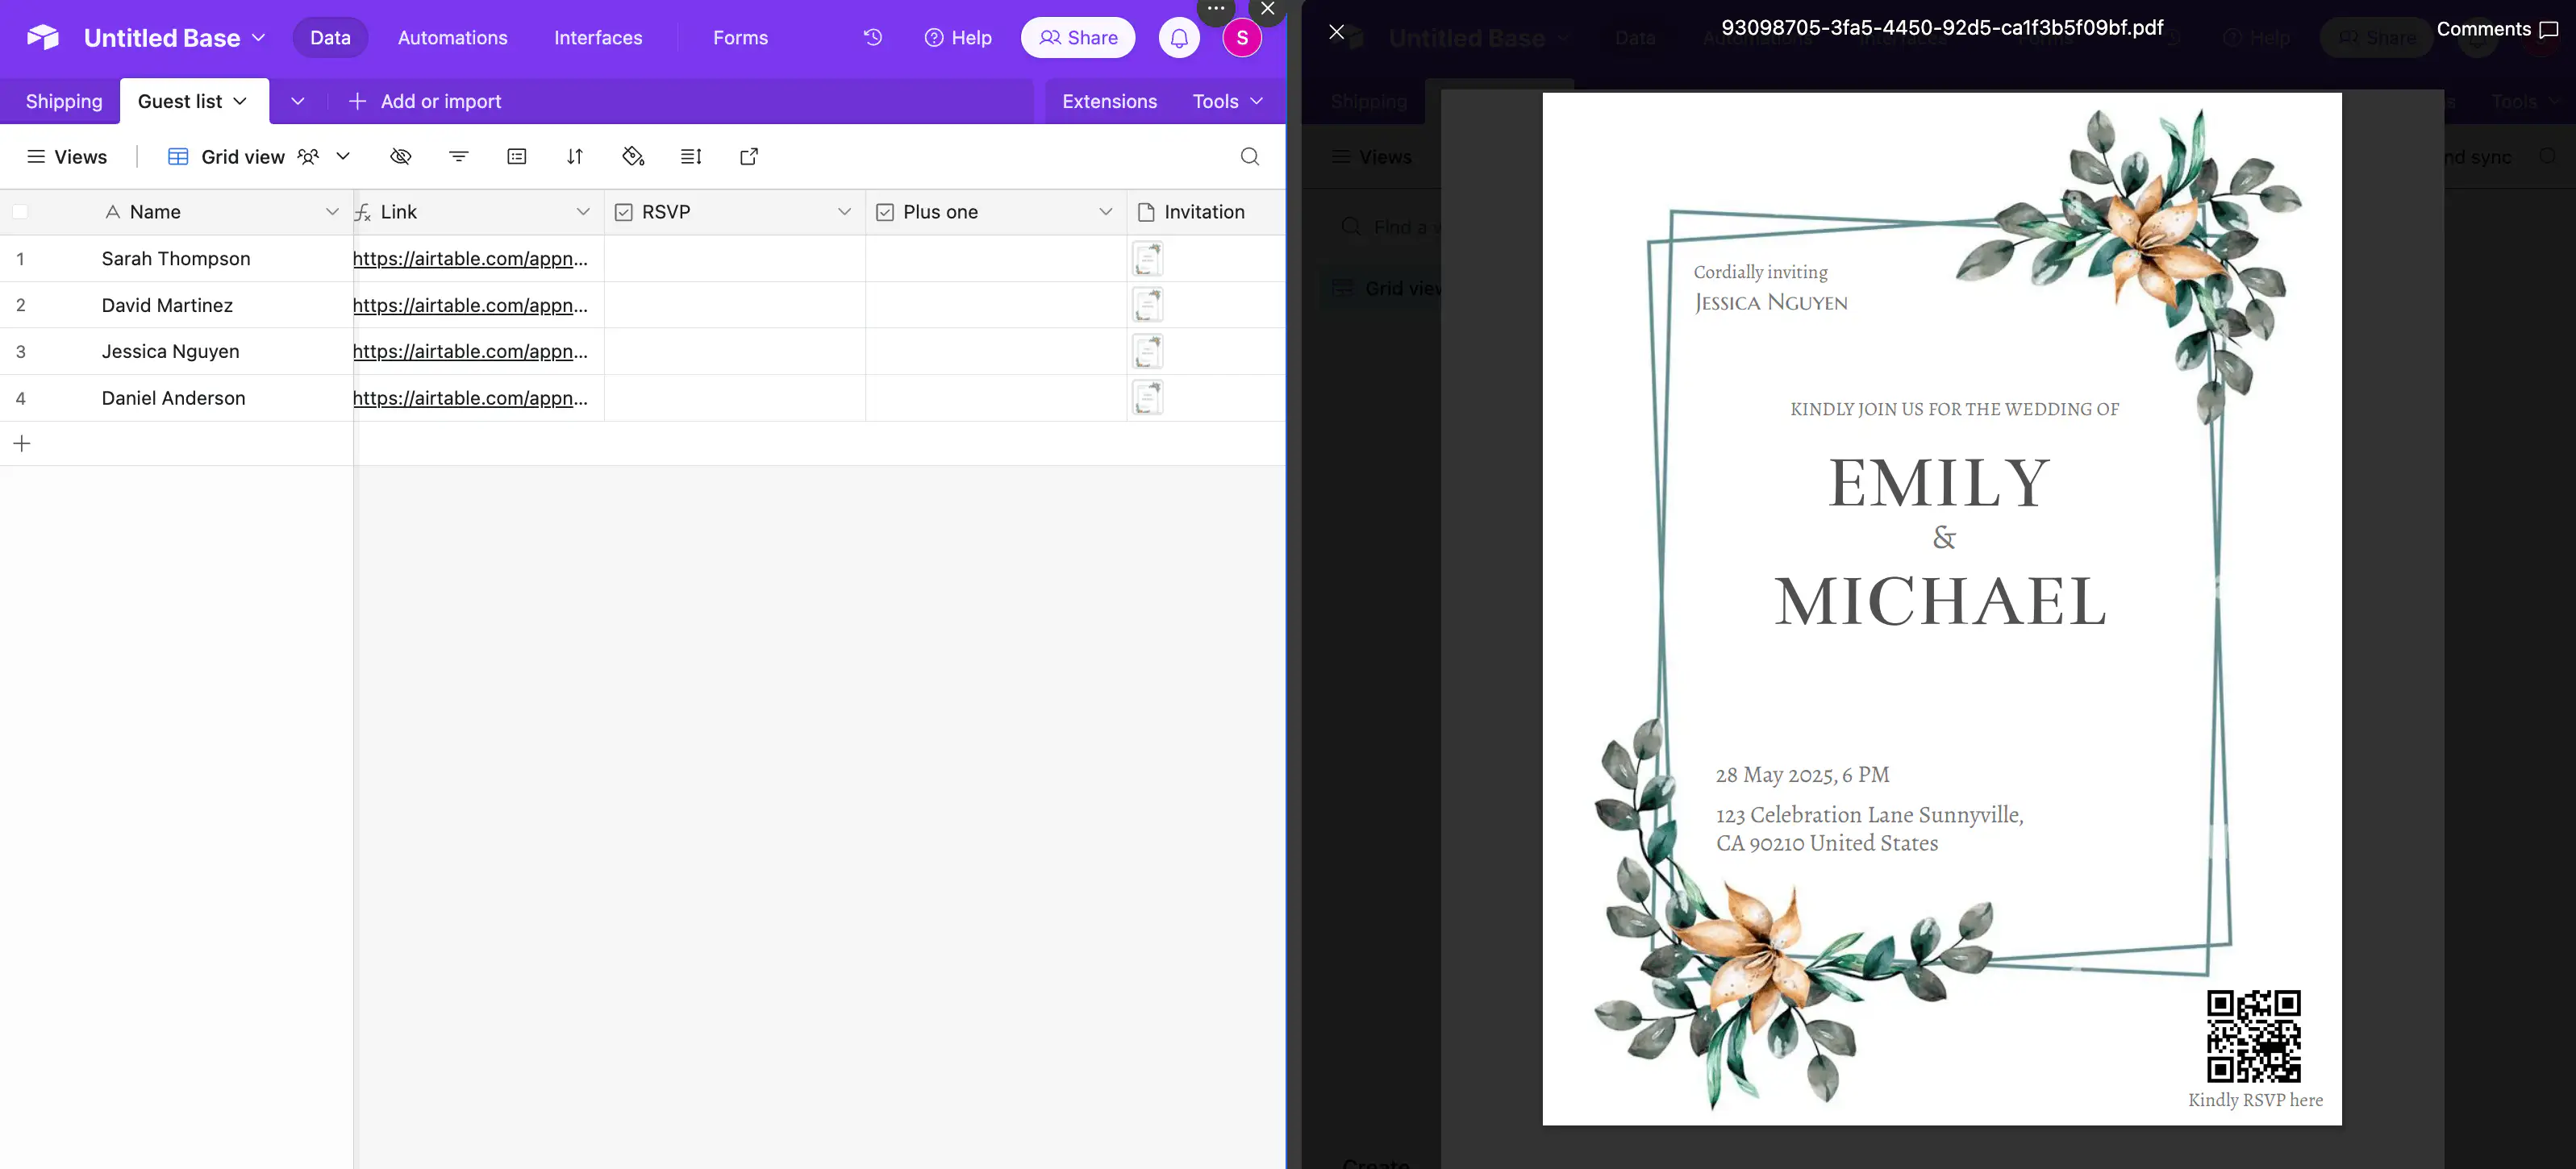
You can then print or email them to your guests.